Bridge exercises where you lie on your back and raise your hips, can strengthen your glutes and hamstrings. And marching bridges—a next-level move—engage multiple muscle groups and challenge pelvic stability, back stability and core strength and stability.
“A marching bridge is a great exercise because it’s asymmetrical,” says Keli Roberts, an exercise physiologist with the American College of Sports Medicine. “As you lift one leg, the other leg bears all your weight and rotational forces are placed on the pelvis.”
What’s more, marching bridges can help prevent back pain and improve posture. They also provide a dynamic stretch for your hip flexors and psoas muscles, which run from your lower back to the top of your hips on either side of your spine and can get especially tight if you spend long hours sitting.
To gauge your ability to do marching bridges with proper form, try the challenge below.
The test: Marching bridges
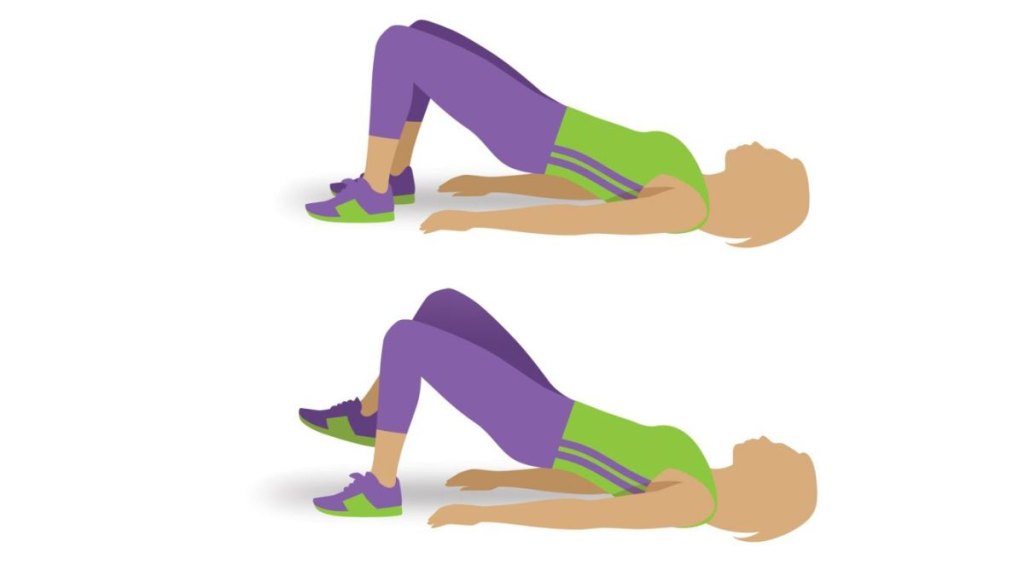
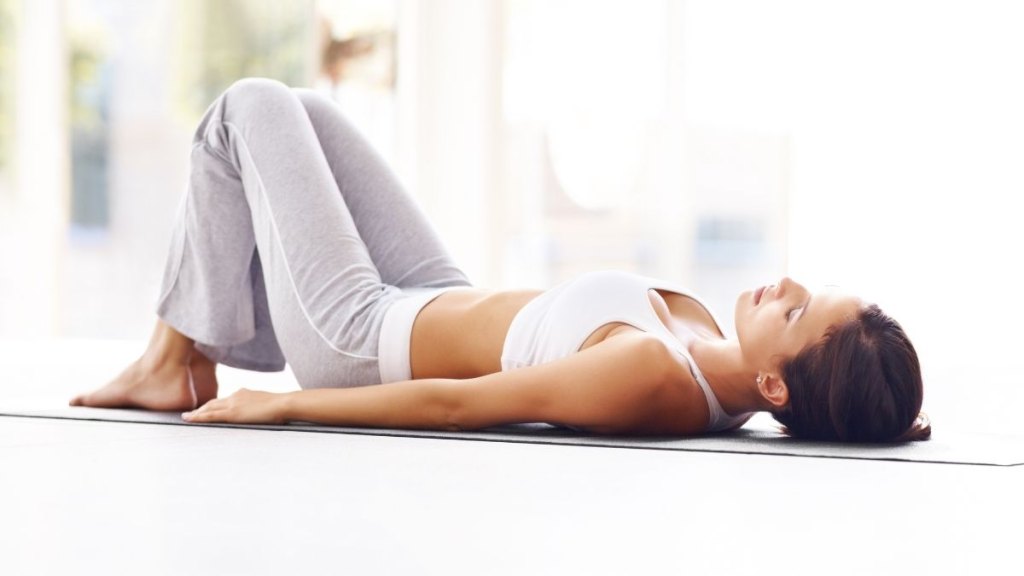
Lie on your back on the floor with your arms at your sides. Bend your knees and place your feet flat on the floor, hip-width apart, so your feet are under your knees.
With your palms on the floor, lift your hips up toward the ceiling, while pulling your belly button toward your spine to engage your abdominal muscles. Your shoulders will be supporting you, and your body should be in a straight line from your knees to your shoulders.
While maintaining this bridge position, lift your right foot a few inches off the floor, keeping the movement small. Place your right foot back on the floor and lift your left foot a few inches off the floor, then return it to the floor.

Maintain a steady count of one-and-two, speaking the words aloud as you lift and lower each foot, Roberts advises. Lift one foot on the count of “one,” pause on the word “and,” replace the foot on “two,” then lift the other foot on “and.” “It’s basically a 3-second count—the rhythm is slow and controlled,” Roberts says.
Keep marching in a steady, controlled fashion for 45 to 60 seconds, counting each march. As you march, “maintain a level pelvis—that’s the goal of the exercise,” says Roberts. Don’t let your hips drop toward the floor or twist to one side or the other.
How did you do?
If you were able to do 15 marches with each leg, without any movement in your pelvis, you did well!
If you struggled…

Don’t feel bad. “I know people who exercise regularly who really struggle with this,” Roberts says.
Build up to doing it by dialing back: Simply lift and lower one foot at a time in a slow fashion rather than marching. Aim for 15 per side.
Or you can “march” just your heels off the floor without lifting the balls of your feet, Roberts says.
Once these moves feel easy to you, try the marching bridge challenge again.
If you want to increase the challenge
If doing marching bridges for 45 to 60 seconds with good form felt easy, you can progress to a single-leg bridge: Start in the same position as the basic glute bridge, then lift and extend your right leg so your right thigh is parallel to the left. Next, lift your hips up and down while keeping your right leg parallel to the floor. “It creates a long lever, which puts more rotational forces on the pelvis that you have to stabilize,” Roberts says. Slowly do 15 repetitions. Then switch to the left leg.
The bottom line
Besides enhancing strength and stability in your core and pelvis, these moves have functional perks. “There’s a huge benefit for walking because the pelvis rotates when you walk,” Roberts explains. “You could do these daily, especially if you sit or drive a lot.”


