While thinner, ‘90s-style brows are coming back, thick, full lashes will never go out of style. Who doesn’t want that voluminous lash look that widens eyes and has everyone asking how you got them so long?! Within the past decade, lash extensions have become a major trend to help those who weren’t blessed with naturally long and thick eyelashes get the look. However, they can be very pricey, especially if you’re getting them done every few weeks, and also can become very high-maintenance and time-consuming. Enter lash clusters, which give you the look of lash extensions for less time and money and can last for days—aka DIY lash extensions. Keep reading for more on DIY lash clusters, how to apply them and more.
What are lash clusters?
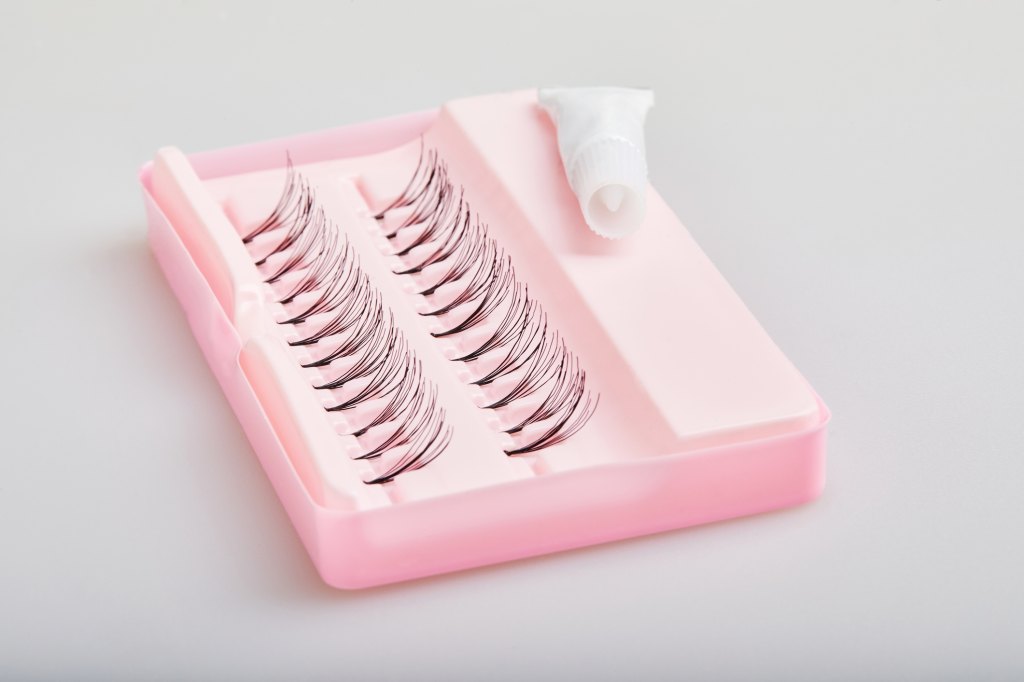
Lash clusters are just what they sound like, small clusters of false eyelashes you apply for a thicker, longer lash look. They feel and look similar to standard false lashes, but instead of a full strip, they’re small strips that you can place wherever you’d like for a boost in your lashes (whether that’s the entire lash line or just the ends for a more natural-looking look). The best part of lash clusters is you can do them right at home in 10 minutes, rather than having to spend hours in a salon.

“Lash clusters are perfect for anyone who wants that customizable, elevated lash look without the time or cost of a salon appointment,” says Chelsi Johnson, Lead Lash Expert at FlutterHabit. “They’re lightweight, comfortable and give you control over your style—whether you want a soft, natural flutter or a bold, full lash look.”
Lash extensions vs. lash clusters
Both lash extensions and lash clusters give you a beautiful, enhanced eyelash look, and can provide extra volume and length. However, there are a few key differences between the two.
The main differences between lash extensions and lash clusters are time and cost. Lash extensions can take anywhere from one to three hours to get done in the salon, not including the time it takes to drive to and from the appointment. Lash clusters, on the other hand, usually take just five to 10 minutes to apply, or maybe a tad longer if you’re a beginner. Cost-wise, the average cost of lash extensions is anywhere from $100 to $300—and that’s just for one set. If you keep up with them, meaning you’ll need a “fill” every two to four weeks, it’s an extra $60 to upwards of $100. Lash clusters are a fraction of the cost, with kits or sets costing less than $50, with most being on the lower end of around $20.
“There’s no annoying in-between fill fallout or daily mascara hassle (with lash clusters)—you can achieve the perfect lash look from the comfort of your home for a fraction of the cost,” affirms Johnson. “And the best part? They give you the confidence to take on whatever life throws your way!”
Further, lash clusters can be a safer, less intimidating option than lash extensions. Since lash extensions have a stronger hold, they can be more difficult to remove if irritation occurs. Lash clusters are usually very easy to take off if needed.
“Lash clusters give you that same lifted, full and seamless look you’d get with lash extensions, but without the hassle. The best part is the flexibility—you’re in control!” says Johnson. “You can apply them when you want, remove them easily and switch up your style whenever you feel like it. No long salon appointments, no big commitment and they’re way easier on the wallet.”
Where lash extensions may have an advantage is duration. Lash extensions typically last anywhere from two weeks to even a month, while lash clusters typically last up to a week.
How to apply DIY lash clusters

If you’re ready to try out lash clusters, don’t worry—they’re not too difficult to do, and get easier every time you do them. Follow Johnson’s tips to applying lash clusters below:
- “Start with clean, oil-free lashes,” says Johnson. This will help increase longevity.
- Next, it’s time to apply your adhesive. Most lash cluster kits come with an adhesive, but if yours doesn’t, we like Flutterhabit Made for This Adhesive, which Johnson says makes a huge difference in how your lashes turn out. “My favorite tip (for applying the adhesive) is the drag and drop method: place a small bead of adhesive on a clean surface, drag the lash base through it and apply. It’s quick, easy and ensures just the right amount of adhesive every time,” Johnson suggests.
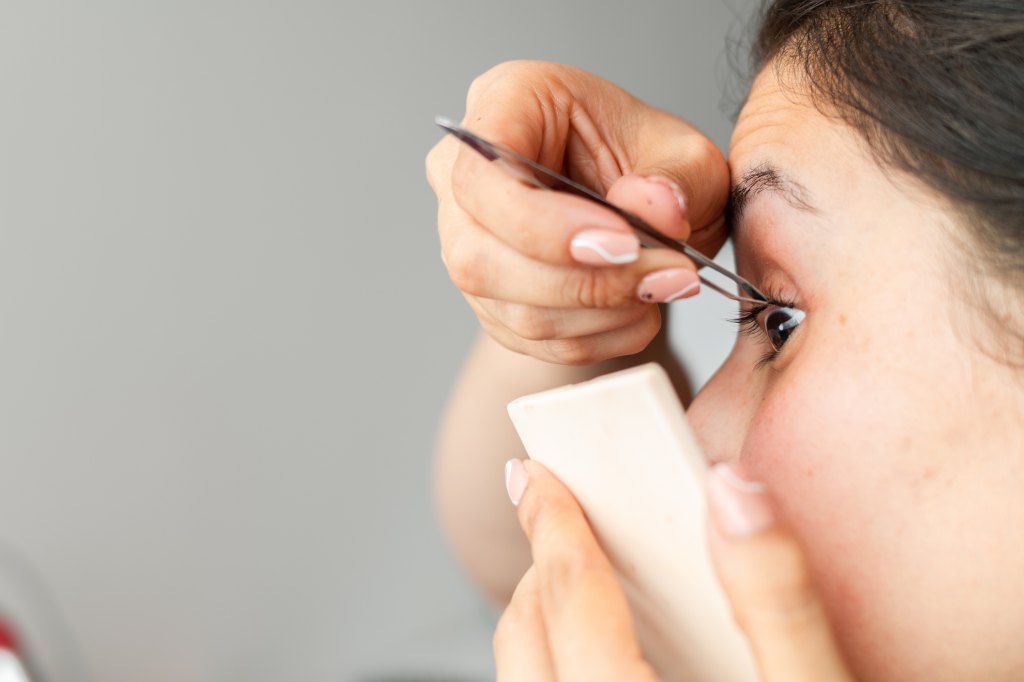
- For application, grab your handy tweezers with your dominant hand and pinch the lash cluster. Use one finger on your non-dominant hand to slightly lift your eyelid, then apply the lash cluster under your lash line. Slightly press the cluster against your natural lashes for extra hold.
As far as where to apply your lash clusters, it’s really personal preference and what your personal taste is, which is one of the great things about clusters compared to extensions. If you want to just add one or two at the ends of lashes to create a cat-eye look, you can, or you can apply to your entire lash line for extra drama.
“I love applying lash clusters across my entire lash line for a full, seamless look—but that’s the beauty of them!” says Johnson. “Our lashes come pre-mapped, making it super easy to get a full look right out of the box. But if you’re feeling creative, you can trim or customize them to match whatever vibe you’re going for. Whether you’re keeping it soft and natural or going bold and glam, lash clusters let you design the perfect look every time.”


