Manicures are a time to indulge in some pampering and self-care. Using bold color nail polishes and even adding nail art expresses oneself to the fullest. Having a standing nail appointment was something I loved having on my calendar, but on a quest to save some money and to have the ability to change styles whenever I wanted, I opted to go the at-home route. After doing gel nails myself at home for two years, I tried a new polish brand and ended up having a horrific reaction that severely damaged my nails—I even have the photos to prove it as you’ll see below. It took seven months of treating my nails, and now they are finally returning to a healthy state where I can wear polish again. Read on for my cautionary at-home gel manicure experience and how I reversed the damage.
My at-home gel manicure experience
Like many others after the pandemic, I reevaluated what I wanted to spend my money and time on. Although manicure days were a time to catch up on the local gossip and my manicurist’s love life, I didn’t want to be stuck in the position I was in when COVID-19 quarantined the entire world. I had to use sandpaper to take my acrylic nails off. I also enjoyed the freedom to change the colors of the polish whenever I wanted without having to wait two weeks.
In my late 20s, nail polish became my vice. Depending on my mood, I obsessed over the colors to reflect the expression of myself. Doing my nails helped me decompress and boosted my self-confidence.
When I switched from bi-weekly manicures to an at-home regimen, I went back to regular nail polish. Even though gel nails have been popular for over a decade, I have heard too many horror stories about what it does to the health of people’s nails. However, more and more brands are diluting the liquid, causing the polish to bubble. My impatience had escalated, waiting for the polish to dry.
So I decided it was time to give gel nail polish a try. One night, I scrolled aimlessly on Amazon, looking for the best at-home gel manicure set. It was time to express myself every day with a new color without wasting hours redoing the polish because they weren’t dry enough and one nail always found a way to require repair.
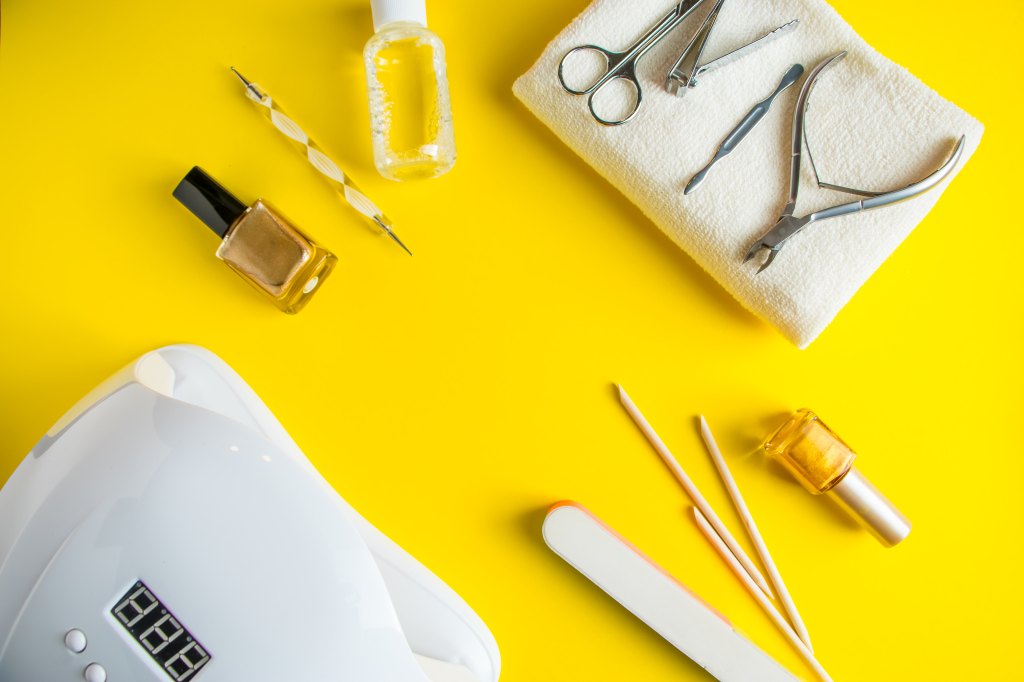
Also, using gel proved to be financially savvy. I bought 24 different-colored polishes for the price of one manicure or three to four regular nail polishes, and the UV light eliminated the bubbles. I liked how the nails looked, and there were so many options.
Manicures are a time to indulge in some pampering and self-care—plus, polishing nails in a bold color or even adding nail art is also a great form of self-expression. Having a regular nail appointment was something I loved having on my calendar, but on a quest to save some money and to have the ability to change up my nails whenever I wanted, I opted to go the at-home route.
After doing gel nails myself at home for two years, I tried a new polish brand and ended up having a horrific reaction that severely damaged my nails—I even have the photos to prove it as you’ll see below. It took seven months of treating my nails, and now they are finally getting back to a healthy state where I can wear polish again.
It was all going well until it wasn’t
I had a good two-year run with my DIY at-home gel manicure set. Then, this year, the unthinkable happened. All ten of my nails lifted from the nail bed. Yes, you read that right. My nails, starting in the middle of the nail lifted right off the skin.
I decided it was time for a change and found a new brand that offered various shades and colors. What could go wrong? I always purchased new brands. It even had good reviews. After a few hours that night, my thumbs and pinkies began to hurt. It felt like someone whacked them with a hammer. They throbbed. Something was seriously wrong.
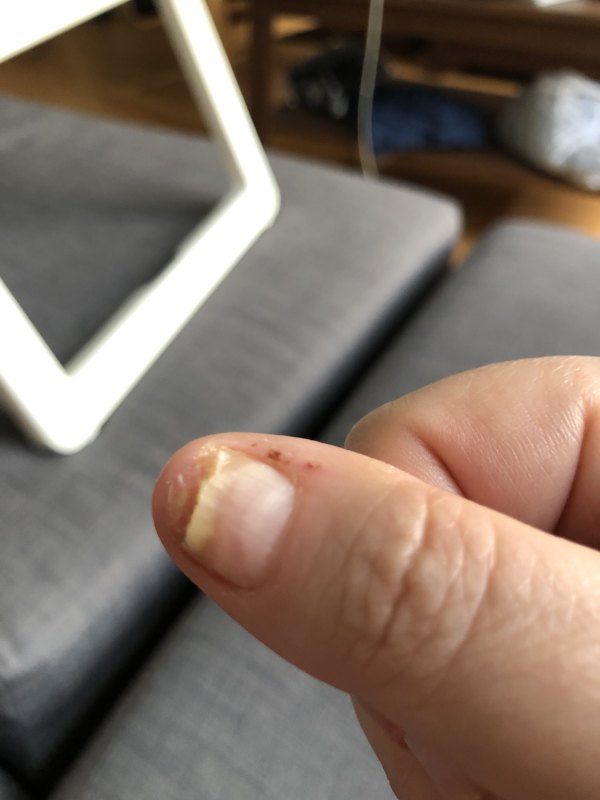
My gut screamed at me to remove the nail polish coating. I was horrified and didn’t know what I was looking at. From the tip of the nail to the middle of the nail bed was a murky white, and the nail was raised. It looked like it had been pried off the skin. I immediately took the polish off the other nails. To my dismay, whatever was going on occurred on all ten fingers.
The aftermath of my at-home gel manicure experience
For three days, my nails were sore to the touch. I also didn’t want to go out. Embarrassment doesn’t begin to describe how I felt. How our nails look is an extension of how we feel inside. I couldn’t be seen like this. The situation progressed throughout the following week. My thumbs were the worst; they had what appeared to be an extra layer of skin under the nail that wasn’t part of the nail bed.
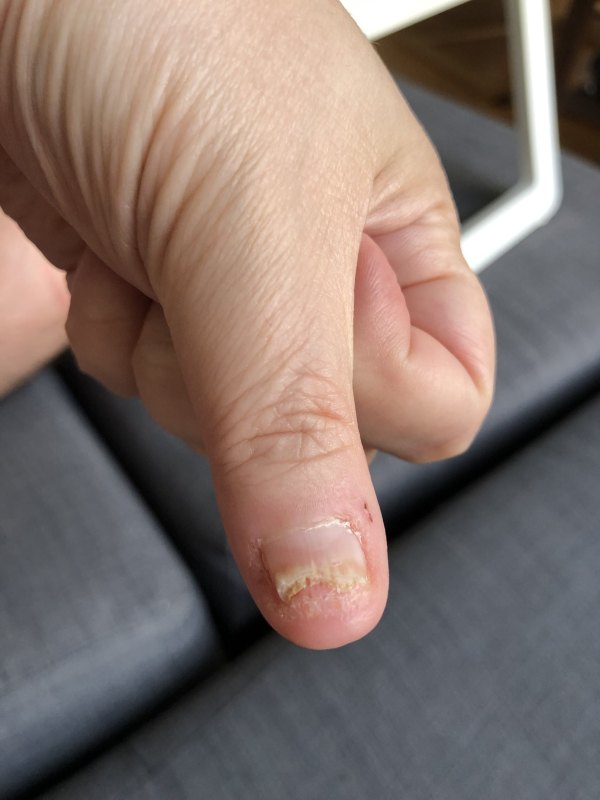
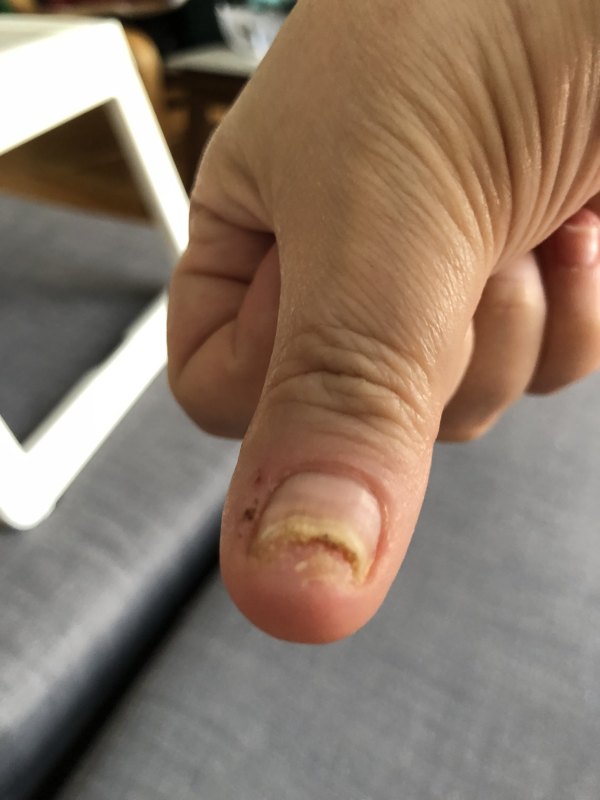
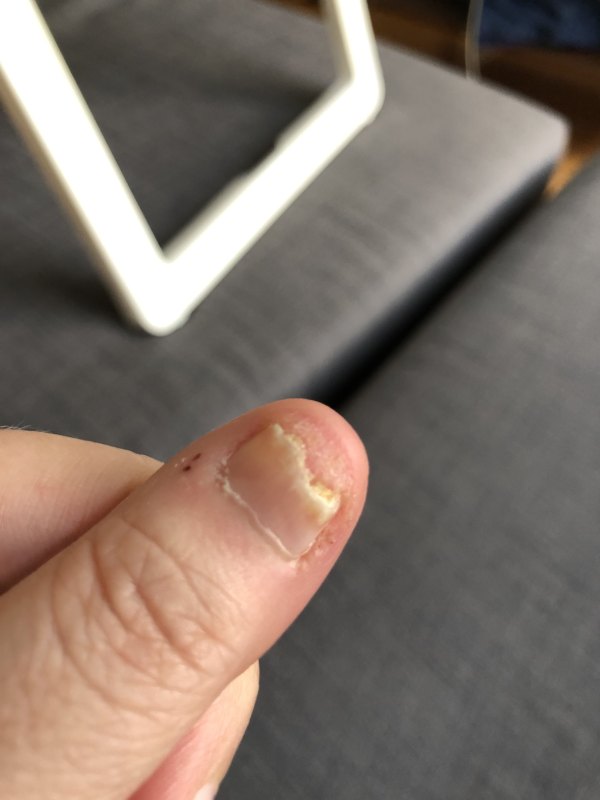
How I treated my damaged nails
At first, I applied vitamin E oil to the nails—it’s proven to help keep them healthy. However, my condition was beyond the help of vitamin E. I visited a dermatologist who confirmed that it was a fungal infection from the manicure. I couldn’t believe what I was hearing. All I wanted was to try a new color, and now I had to deal with pain. She put me on a half-homeopathic, half-traditional regimen to follow:
- Add 2/3 cup water and ⅓ cup white vinegar to a bowl and soak hands for 15 minutes
- Apply the prescription medication, Jublia, twice a day to nails
- After the medication dries, apply Vick’s Vapor Rub on top
I followed this routine for two months. The fungi changed colors. Every week, I cut the nails as short as possible to clean them with sterile disposable dermal curettes; the shorter they were, the cleaner I could get them. However, nothing drastic happened and I started to become impatient.
So I took to the Internet and the research I did suggested I try tea tree oil. I had nothing to lose. I applied the oil to the nails twice a day, making sure the oil seeped as far under the nails as possible. After the first day, I noticed a significant difference. The top of the nail bed looked healthy, and the fungi under the dead nail became looser. Then, on a few fingers, the fungi disappeared. I still cut the nails down, removing the dead nail. For a month, I had stumps, but they were presentable.
How my nails look and feel today
After seven months of naked nails, I can wear nail polish again! Once I started using tea tree oil, it took four months for my nails to grow out fully. I still apply the oil to my nails once a week for maintenance.
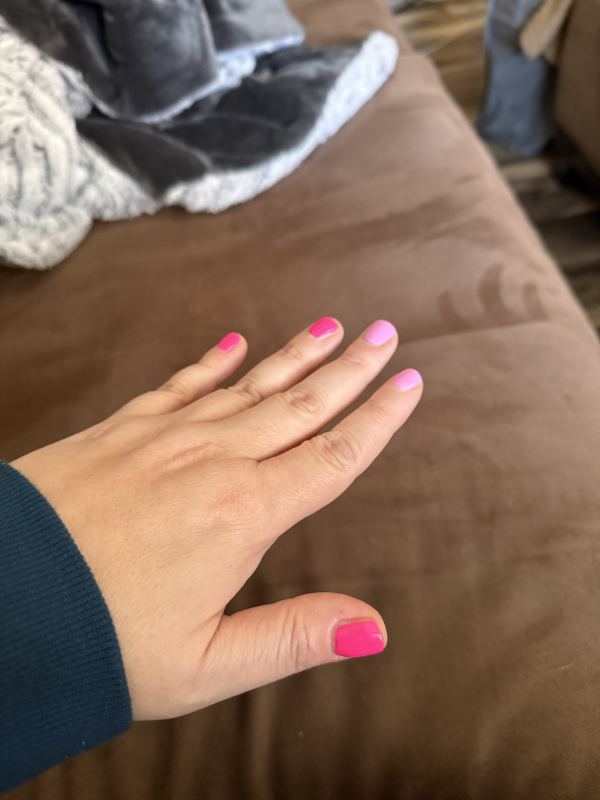
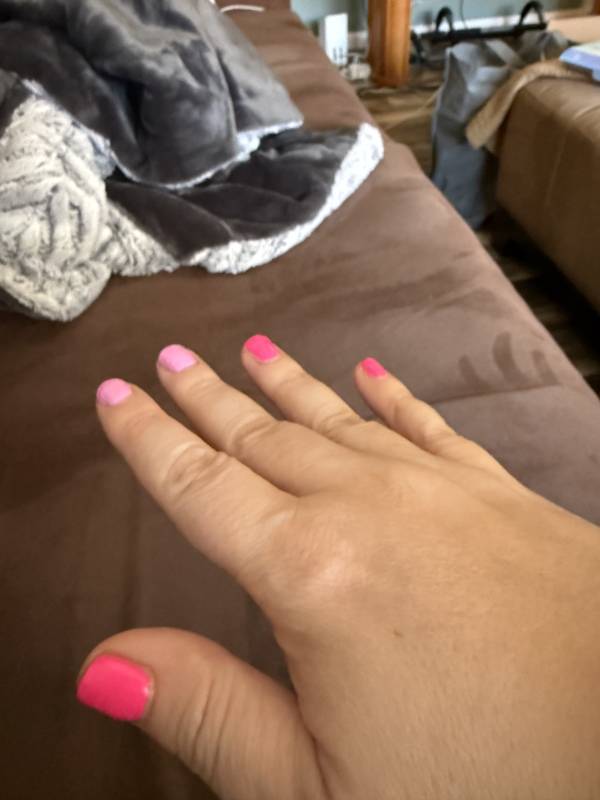
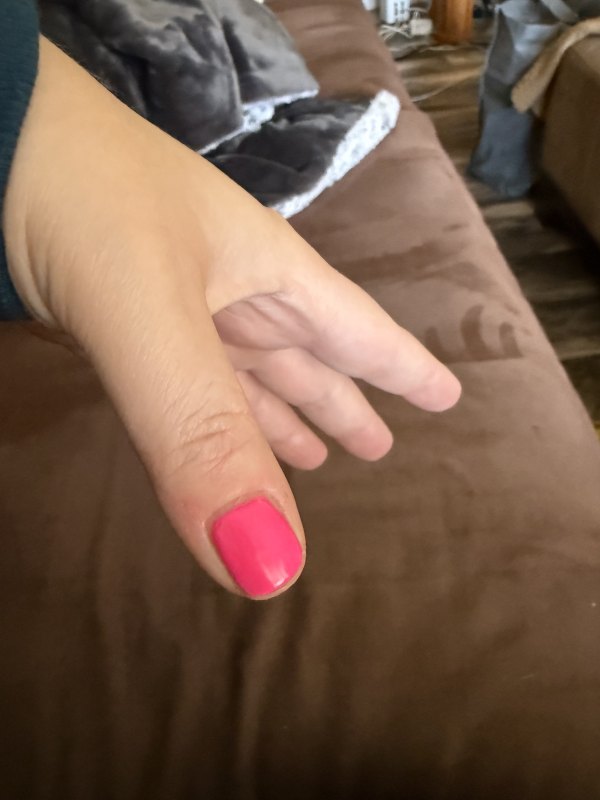
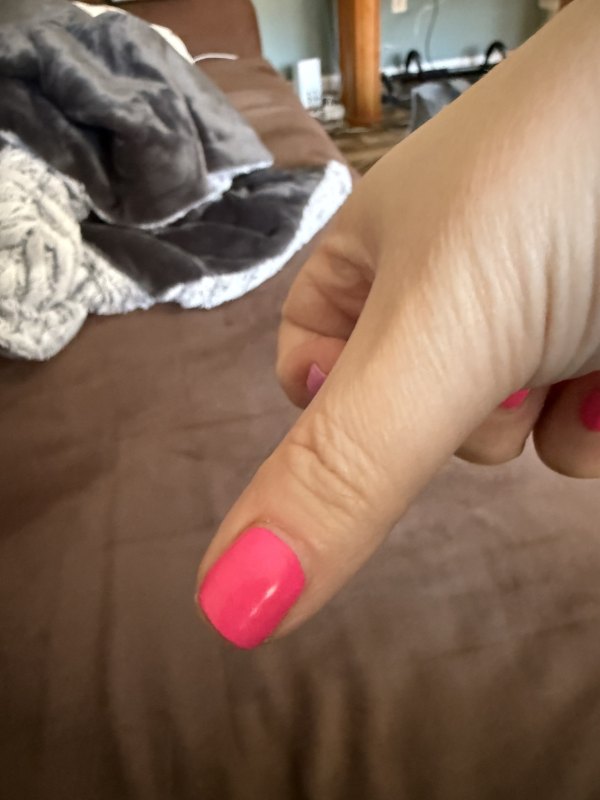
I knew on a superficial level how I felt when I had a salon manicure. However, this experience tested me on all levels. I had to find other ways to feel confident in my appearance. So I started paying particular attention to my makeup and facial expressions during conversations. I didn’t feel professional. It took time to reframe the story I told myself about my capabilities; just because my nails were experiencing a traumatic issue didn’t mean I didn’t bring value to the table. I embraced this as part of me—take me for who I am.
It’s important to remember that self-confidence emanates from within. Your mindset shapes your reality, projecting your inner world outward. Tying your self-worth to external factors sets you up for disappointment. Embracing your authentic self and recognizing your intrinsic value is far more empowering than any superficial enhancement. True confidence radiates from self-acceptance and self-love, outshining even the most polished exterior.
I also haven’t given up on my at-home gel manicure set. One day, I will put my trust back into gel nail polish. Until then, I’ve found a brand of regular polish that doesn’t bubble, dries quickly and expresses my sparkly, confident self again.


